With 90%+ of buyers starting their home searches online, it has become more important than ever to make sure the photos that buyers see are the very best they can be. While some Realtors pay a professional photographer to come in and take pictures of their listings, this can be extremely expensive and not cost-effective for the average home. Consequently many agents take their own photos with widely varying results.
Im a bit of a perfectionist so when it comes to photographing my listings, Ive done some research and trial & error to come up with what I believe are awesome photos. I thought that Id share with you the tools and methods I use to get the very best photo.
The biggest “trick” to this is something called HDR imaging. HDR stands for High Dynamic Range and it is a format used to create photos with better color and contrast using a blending of the same picture taken at multiple exposures. After my results I really believe this is a great way to improve your photos without spending ridiculous sums of money on high end cameras and equipment.
Equipment:
Olympus C-7070 7.1 Megapixel Camera (27mm focal length)
Wide angle lens attachment (brings it down to a 22mm-23mm focal length)
Tripod (cheap one still works fine)
Software:
Photomatrix Pro (retail $99)
Paint Shop Pro XI (retail $99)
First I use my tripod and the Auto Exposure Bracketing (AEB) feature of my camera to produce a total of 5 photos in quick succession. It is crucial that the photos are shot exactly so it is worth it to buy a $20-$30 tripod. Not all cameras have this function and each will have slightly different settings… for mine I configured it to give the highest range possible, which gave me 2 photos over exposed, one photo about right, and two photos underexposed.
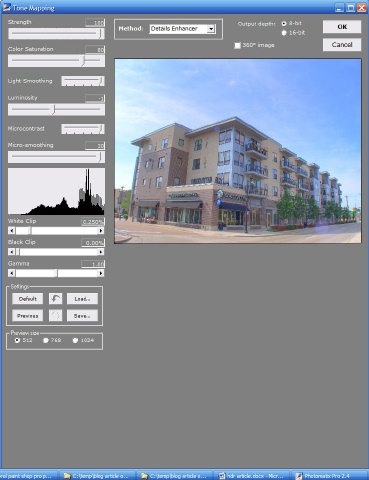
I then import the 5 photos into Photomatrix Pro using the HDR->Generate command
Then I use the HDR->Tone Mapping feature and configure the setting options as I feel fits the scene. These can change from picture to picture so it is best to play with them a little on each photo.
After Ive got the picture the way I want it, I open the image in Paint Shop Pro Photo XI and click Enhance Photo->Smart Photo Fix.

Again I make the adjustments as I feel necessary and viola! An image that is correctly exposed in all parts, shows great color depth, and overall displays a much more professional image.
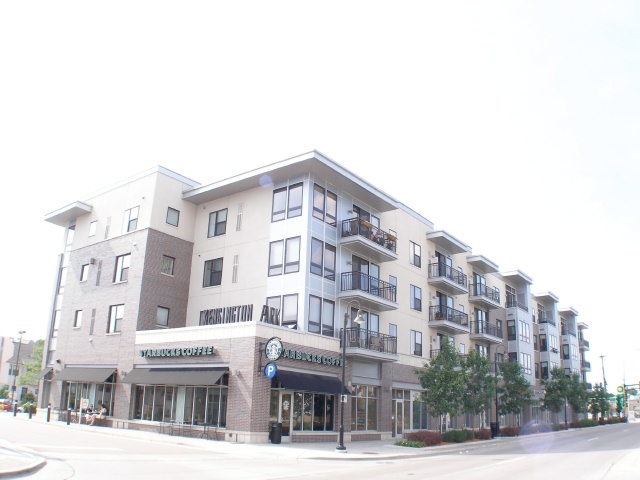
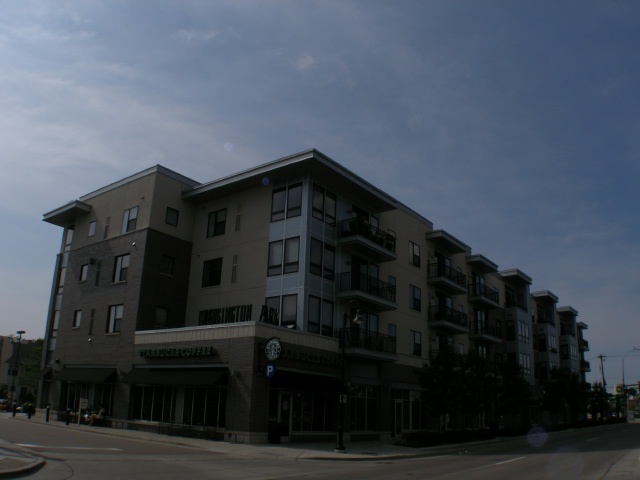
“Average” Photo
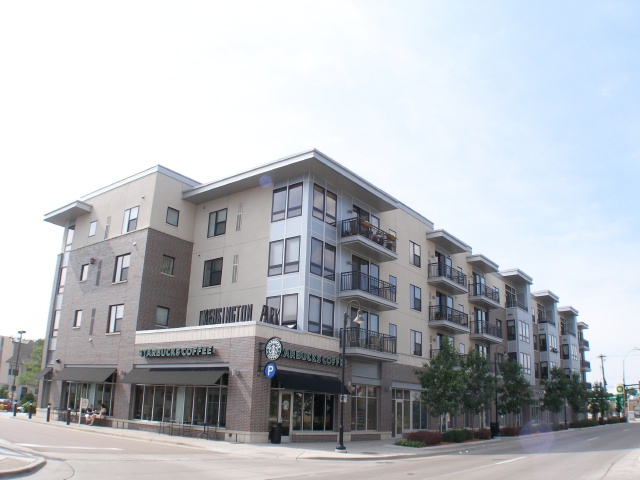
High Dynamic Range (HDR) tone mapped using Photomatrix Pro
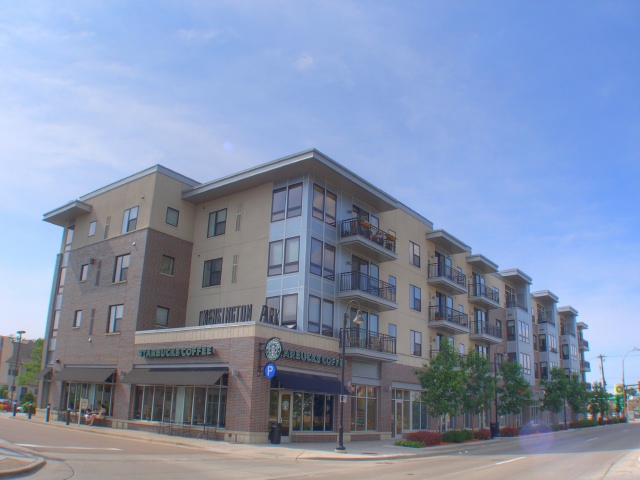
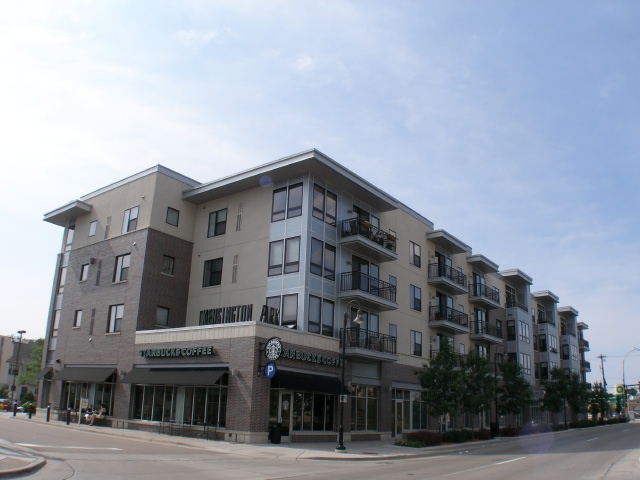
Final product after running through Paint Shop Pro Photo XI for some detail enhancement and better definition.

Another sample:
Source Images:


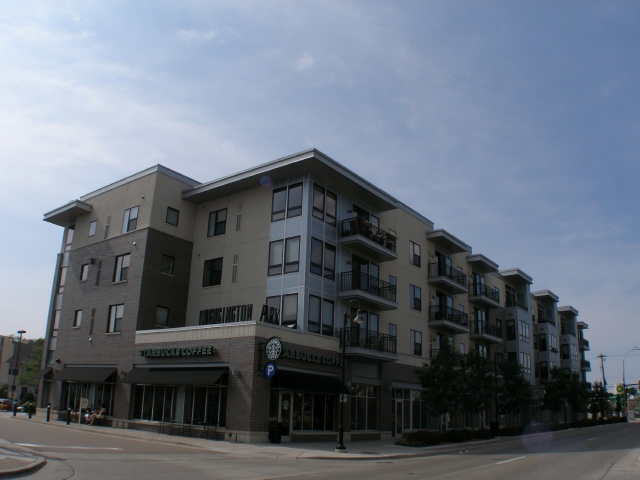
“Average” Photo
High Dynamic Range (HDR) tone mapped using Photomatrix Pro

Final product after running through Paint Shop Pro Photo XI for some detail enhancement and better definition.